
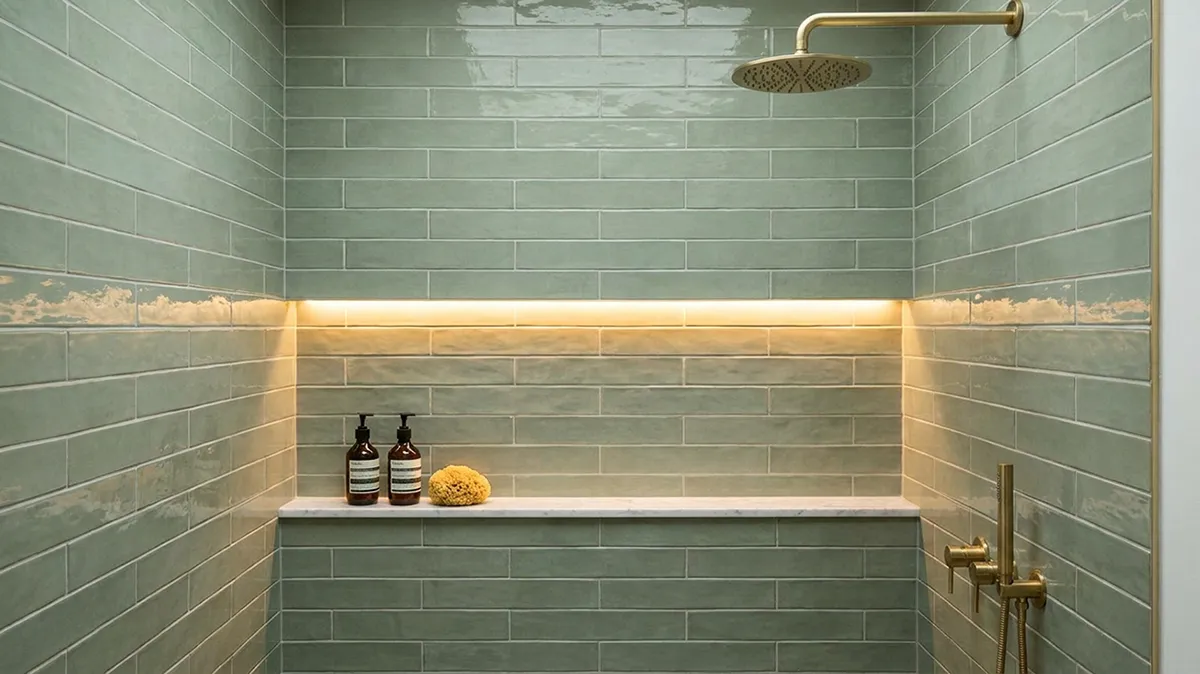
A shower niche is a recessed shelf built into your shower wall to hold shampoo, soap and other everyday essentials. Niches aren’t outdated, but they need precise waterproofing to stay leak-free. A common size is 300mm wide by 600mm high, with the base set around 1,200mm above the floor and a slight fall towards the shower.
Below are the measurements and checks to take to your renovator. That includes the corner detail Australia’s waterproofing standard requires, and the shelf heights its accessibility standard sets. Get them right and your niche fits your bottles and never leaks.
Shower Niche Size, Height and Placement Guide
A common shower niche size is 300mm wide by 600mm high. Set the bottom ledge around 1,200mm above the shower floor. Then adjust it between 1,000mm and 1,400mm to suit whoever uses the shower daily.
Your shower niche specification cheat sheet
| Specification | Measurement | Notes |
|---|---|---|
| Standard size | 300mm W x 600mm H | Suits most households and tile layouts |
| Horizontal size | 600mm to 900mm W x 300mm H | Good for long runs of bottles side by side. Go to 900mm if you want everything in a single row |
| Family size | 300mm W x 700mm H or taller | Allows a middle shelf for kids’ products or a second adult. If you would rather go wide than tall, use a 900mm horizontal niche instead |
| Depth | 70mm to 90mm | Usable depth depends on the stud depth in your wall |
| Standing height (base of niche) | Around 1,200mm from the floor, adjusted between 1,000mm and 1,400mm for your household | Suits most adults and keeps the niche out of the direct spray. With 600 x 300mm tiles laid horizontally, 1,200mm lands on the grout line between the fourth and fifth course, so the niche sits neatly between tiles |
| Accessible or seated use | Shelf between 900mm and 1,100mm from the floor | Matches the soap holder zone in the Australian Standard for accessible design (AS 1428.1) |
| Over a bath (base of niche) | Roughly 200mm to 450mm above the bath rim | Reachable while sitting in the bath |
| Best location | Side wall, out of the direct spray | Keeps products drier and reduces water on the sill |
| Avoid | The mixer wall, directly under the shower rose, walls you can’t open up | Plumbing and access issues |
For the clearances around the rest of the room, see our guide to bathroom dimensions.
Planning for every age
Planning for ageing parents, or a family member with limited mobility? Set the niche lower. The Australian Standard for accessible design (AS 1428.1) places soap holders between 900mm and 1,100mm above the floor, well below the heights quoted in most overseas guides. In a shower with a seat, this keeps everything within easy reach without standing up.
In a family bathroom, a tall niche with a middle shelf splits the difference. Adult products go on top. Kids’ or seated-use products go below.
Try this now
- Grab your tallest bottle, usually a pump-style shampoo or body wash. Measure it and add at least 50mm. That’s the minimum internal height for your niche, or for each compartment if you’re adding a shelf.
- Stand in your current shower as you normally would and reach out to the side without stretching. Mark that height on the wall with painter’s tape. That’s your ergonomic niche height.
- If anyone in your household showers seated, or may in future, sit on a chair beside the wall and repeat the reach test. If the two tape marks are far apart, consider a taller niche with a shelf.
- Count your everyday products and line them up on a bench. Measure the total width to check whether a standard or horizontal niche suits you better.
How you’ll know it’s right: everyone who uses the shower can reach their heaviest bottles without bending or stretching, and everything fits with room to spare.
Types of Shower Niche: Tiled, Prefab or Stainless Steel
There are three types of shower niche. A custom tiled niche is framed into the wall and tiled to match. A prefabricated niche is a ready-made waterproof box you tile over. A stainless steel niche arrives finished and needs no tiling.
| Type | Look | How it’s waterproofed | Best for |
|---|---|---|---|
| Custom tiled | Tiled to match the wall, any size you want | Framed on site, with the membrane applied into the niche along with the rest of the wall | Full renovations and non-standard sizes |
| Prefabricated (tile-ready) | Tiled to match the wall, in the manufacturer’s set sizes | The box itself is waterproof, but its edges must be sealed into the wall membrane | Standard sizes and faster installs |
| Stainless steel | A metal frame that stands out from the tiles | Its flange must be sealed into the wall membrane | Feature niches in a contrasting finish |
Whichever type you choose, the niche is only as watertight as its join to the wall membrane. A waterproof box set into a badly sealed wall will still leak.
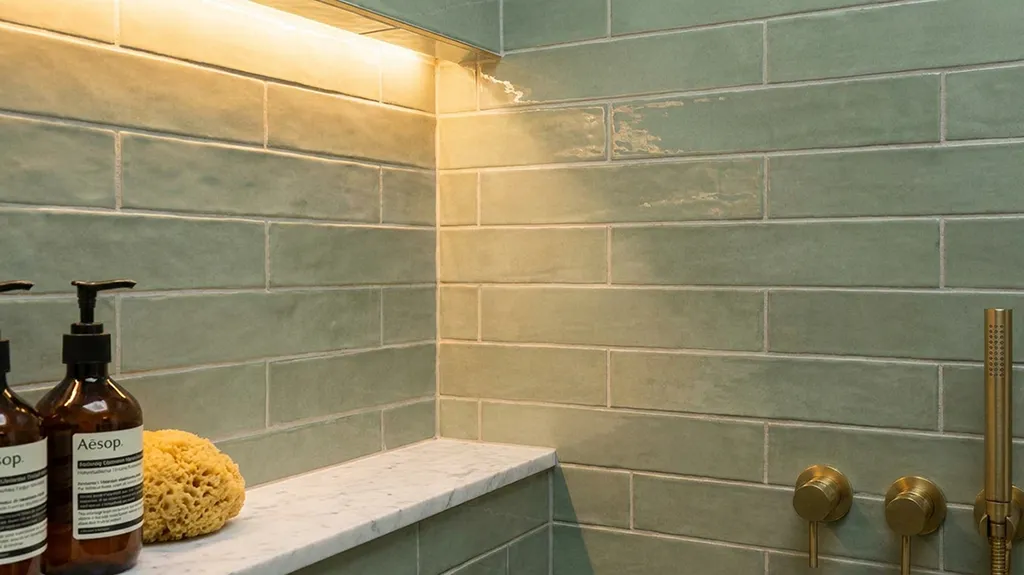
How Much Does a Shower Niche Cost?
Prefabricated niche boxes retail from around $50 to $200, and stainless steel niches from around $110 to $400. In a full renovation, a custom tiled niche adds around $500 at standard sizing, covering framing, waterproofing and tiling.
The product is the smaller part of the cost. Most of it is the labour to frame, waterproof and tile the opening properly. That’s why a niche is best planned as part of a renovation rather than added on its own. Our bathroom renovation cost guide sets out where the rest of the budget goes.
How to Avoid Common Shower Niche Mistakes (and Prevent Leaks)
Do shower niches leak? Not when they’re waterproofed properly. But a niche adds corners and a ledge to your shower wall, and those are where leaks start. The most common cause is a perfectly flat base, which lets water sit on the sill, soak into the grout and breed mould.
Why niches leak: the 12-corner problem
A simple rectangular niche adds 12 corners and edges to your shower wall, eight inside the box and four around the opening. Each one is a point where the waterproofing membrane changes direction, and each one can crack as the house moves.
The Australian Standard for wet area waterproofing (AS 3740) deals with this directly. It requires a bond breaker or fillet, which is a flexible tape or sealant bead, at every change of plane so the membrane can flex rather than tear. The minimum width depends on how far the membrane stretches, as set out in the Standard and reproduced in the Building Commission NSW Building Defects Library.
| Membrane class | Stretch before breaking | Minimum bond breaker width |
|---|---|---|
| Class 1 (low stretch) | 10% to 59% | 100mm |
| Class 2 (medium stretch) | 60% to 299% | 35mm |
| Class 3 (high stretch) | More than 300% | 12mm |
Incorrect fillets at wall junctions are one of the recurring waterproofing defects Building Commission NSW lists from its audits of new buildings. A niche packs a dozen of those junctions into a small patch of wall, which is why it deserves its own question when you vet your renovator. Our bathroom waterproofing page explains how the membrane is applied and certified.
Checklist for vetting your renovator
Use these questions before any work starts:
- Does the niche base have a fall? The bottom sill should slope gently towards the shower so water runs off rather than pooling. A few millimetres across the depth of the sill is usually enough.
- Is the niche waterproofed as part of the shower wall? The membrane should run continuously into the niche and cover the sill, sides, back and top, in line with the Australian Standard for wet area waterproofing (AS 3740). Silicone or grout alone is not waterproofing.
- Are the niche corners treated? Ask what class of membrane your renovator uses and how wide the bond breakers at the niche corners will be. The answer should match the table above.
- Is a licensed waterproofer doing the membrane? In NSW, waterproofing must be done by a licensed applicator. Ask to see the licence, and make sure you’ll receive a waterproofing certificate when the job is done.
- Has the niche been set out to the tiles? The niche should be sized and positioned so its edges line up with full tiles or grout lines. Otherwise you end up with thin sliver cuts around the border that look unfinished.
- How will the edges be finished? Mitred tile edges give an unbroken finish, while metal trims are quicker and more durable on exposed corners. Agree on this before tiling starts.
- Is the opening framed properly? The niche opening should be framed by a carpenter to suit the wall, so it’s square, solid and sized to the tile layout.
The marble test
Wait until the grout has cured. Then place a marble on the bottom ledge.
- If it rolls off into the shower, the fall is correct.
- If it stays put or rolls to the back or a corner, the sill is flat or falling the wrong way, and water will pool. Raise it with your renovator before final payment.
Troubleshooting
Problem: The only practical wall is an external brick or double brick wall.
Solution: Recessing into masonry is more involved and may not give you enough depth. Ask about a feature ledge or a stone corner shelf instead.
Problem: The wall you want contains plumbing or electrical.
Solution: Move the niche to another wall, or have your renovator confirm whether the services can be relocated as part of the job.
Problem: Water is already sitting on the sill of your existing niche.
Solution: Dry it after showering to stop mould growing in the grout, and have the fall and waterproofing checked at your next renovation.
Are Shower Niches Outdated? Pros, Cons and Alternatives
Shower niches aren’t outdated. They’re now a standard feature in most custom bathrooms. In our showroom, fewer clients are choosing contrasting mosaic niches. Most now want the niche tiled to match the wall.
A shower niche is a good idea if you’re renovating the whole shower.
- Pros: no clutter on the floor or shower caddies to rust, storage that doesn’t eat into your shower space, and a clean, built-in look.
- Cons: it must be planned before tiling, it costs more than a shelf, and a poorly waterproofed niche can leak.
In a tight room the first of those matters most, which is why a niche is one of the first things we plan in a small bathroom renovation or a compact ensuite.
Niche vs the alternatives
| Feature | Built-in niche | Corner shelves | Hanging caddy |
|---|---|---|---|
| Look | Clean and high-end | Traditional and visible | Cluttered and temporary |
| Relative cost | Highest | Moderate | Lowest |
| Installation | Built into the wall during framing and tiling | Fixed to the wall surface | No installation |
| Leak risk | High if done poorly, low if done properly | Low | None |
| Best for | Full renovations | Budget updates | Rentals and quick fixes |
Which option suits you?
- Are you stripping the shower back to the frame? If yes, build a niche.
- If not, is the shower old or showing signs of leaking? If yes, talk to a licensed renovator about renovating the shower and including a niche.
- If not, install floating corner shelves or a quality stainless basket.
Can You Install a Shower Niche in an Existing Shower?
Technically yes, but it’s rarely worth doing on its own. A niche is designed in at the framing stage, before the walls are closed up, when adding one costs very little. Adding it later means cutting through finished tiles and the waterproofing membrane behind them, and that’s exactly the kind of work that leads to leaks.
Why retrofits are risky
The membrane in your shower wall is one continuous layer. Cutting a hole in it and trying to join new membrane to old, behind tiles you can’t fully remove, is difficult to do reliably. Joins like that leak. In most cases the only sound way to add a niche is to re-waterproof the whole shower wall, which means stripping the tiles back anyway.
What a proper retrofit involves
If you do go ahead, this is what the job should include:
- Check the wall cavity. Your renovator confirms there are no pipes, vents or cables in the area and works out how the opening will be framed.
- Strip the wall. Tiles are removed back to the wall sheeting, not just around the niche opening.
- Frame the opening. The niche is framed square and solid, sized to the tile layout.
- Re-waterproof the wall. A new membrane is applied across the wall and into the niche, with bond breakers or fillets at every corner, by a licensed waterproofer.
- Retile and seal. The wall and niche are tiled, grouted and sealed, with the niche base set to fall towards the shower.
Before you commit
By the time you’ve stripped and re-waterproofed a shower wall, you’re most of the way to a shower renovation. Finish the job. If your shower is ageing or showing signs of leaking, include the niche in a full renovation. Our bathroom renovation process shows what that looks like from first measurement to handover.
Just want more storage in a shower that works? Leave the wall alone. A stainless basket or stone corner shelf looks better than a patched wall, and it can’t leak.
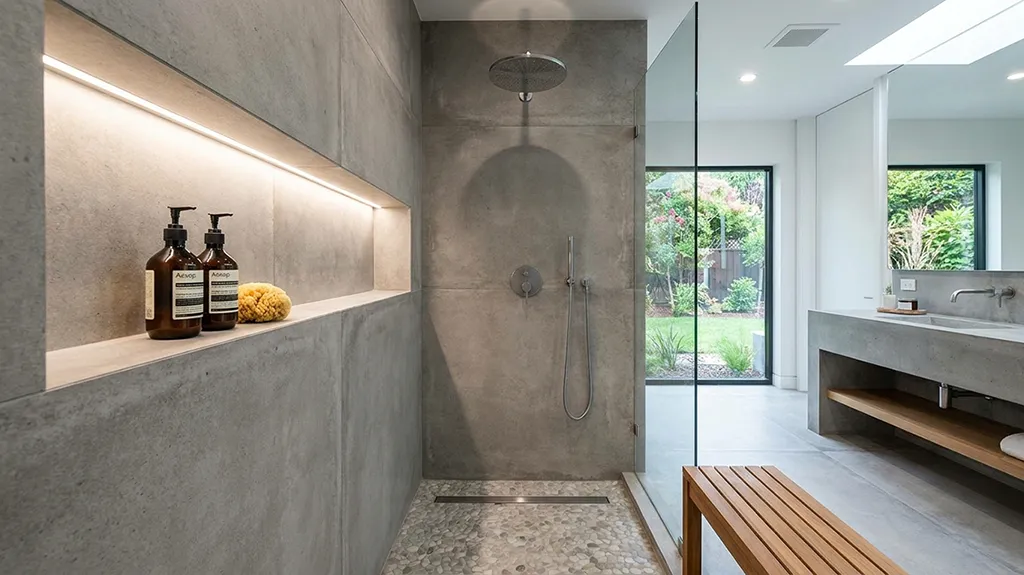
Plan Your Niche With a Licensed Team
A well-built niche comes down to three things. The right size and height for your household, a correct fall on the sill, and waterproofing that runs unbroken into every corner. Empire Bathrooms’ own tilers, carpenters and licensed waterproofers handle all of it, from framing to the final grout line. You can see how the detail comes together across our completed projects.
See niche finishes and tiles in person at our Dural showroom. Or book a free design consultation and we’ll plan the size, height and position with you. We renovate across the Hills District and greater Sydney, and renovations start from $19,980.